


Birdmoss
Oyster Mushroom Growing Kit
Oyster Mushroom Growing Kit
Couldn't load pickup availability
- Shipping: Single items and non-box products ship for a flat rate of $7.00 per order. Non-subscription products usually ship within 3 business days of purchase.
- "If you have any issues with your purchase, please reach out to me at shannon@birdmoss.com, and I'll personally do everything I can to make it right."- Shannon, Birdmoss Curator and Liaison
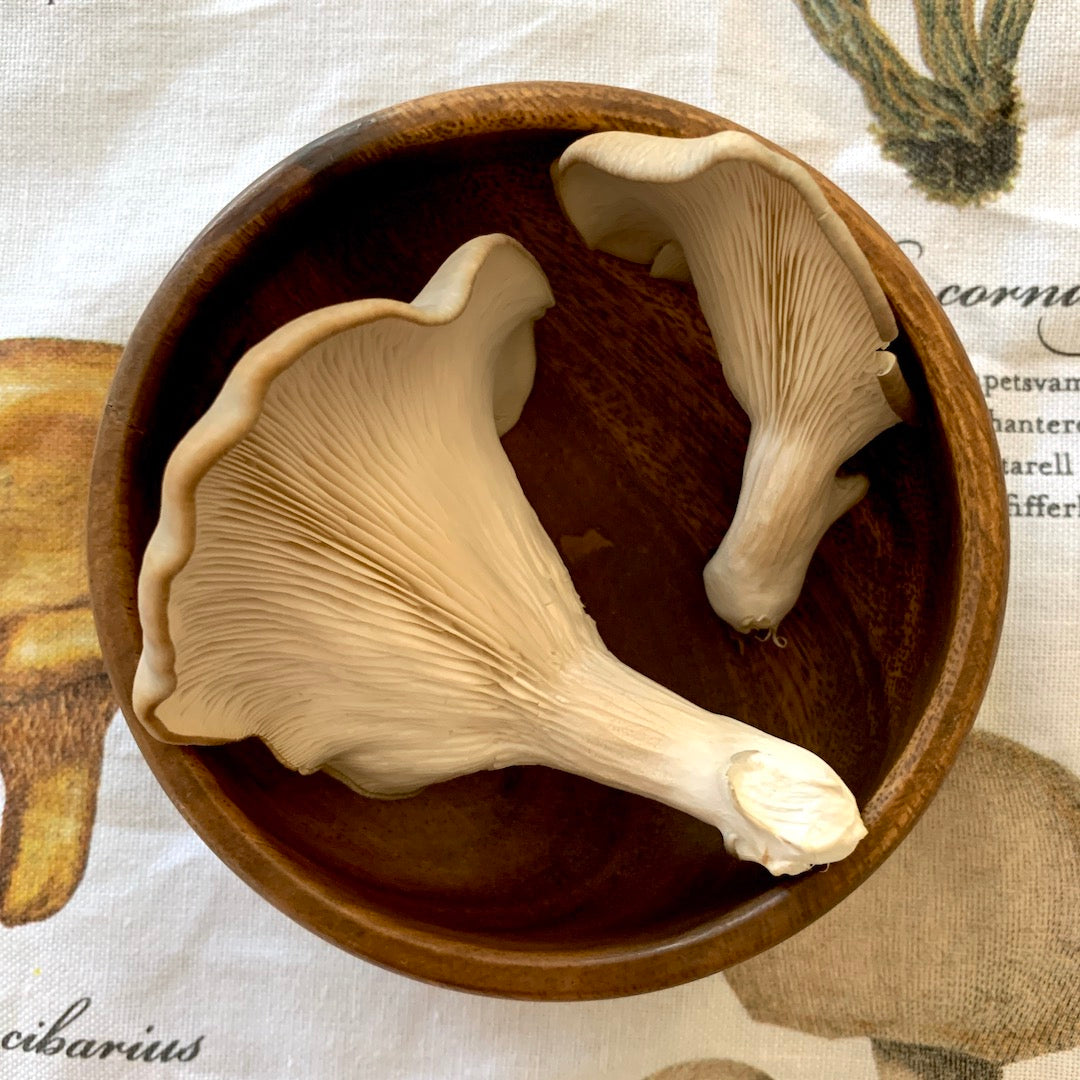
Mushrooms grow throughout Birdmoss, but they find the Forest particularly hospitable. Drifts of spores form communities and develop relationships with the trees. They translate and relay messages: their underground networks allow the oaks to communicate with the birches; and the firs with the junipers. In order to begin to understand their impulses and currents, you'll need to investigate a mycelium colony. This kit allows you to cultivate real Oyster Mushrooms and examine their stages.
Break the seal on this pouch and store in refrigerator. Plant as soon as possible.
This process takes several weeks, but is very rewarding!
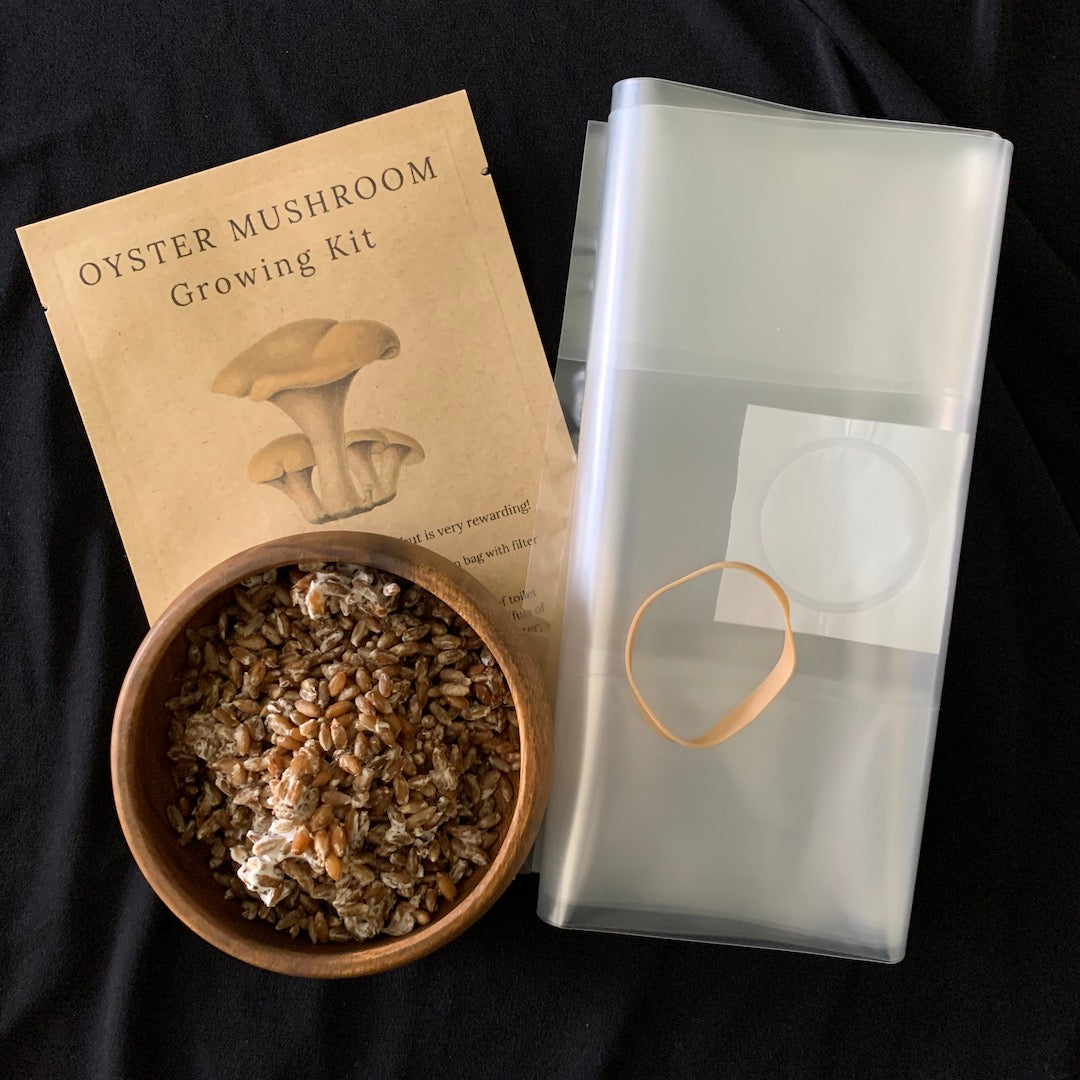
Kit includes: pouch of grain spawn; spawn bag with filter patch; rubber band.
To nurture your Mushrooms, you'll also need: roll of toilet paper (unbleached, unscented), or several large handfuls of shredded paper; large pot; dechlorinated or spring water; tongs; access to a stove and refrigerator.
- Break the seal on the pouch and store in the refrigerator when it arrives. Plant as soon as possible.
- Thoroughly clean work surface and wash hands. Bring dechlorinated water to boil in a large pot. Remove from heat.
- Dip toilet paper roll or shredded paper in water until fully saturated. Transfer to clean counter or baking rack to cool. If using toilet paper, remove cardboard core with tongs.
- When paper is cool enough to touch, transfer it to the plastic spawn bag with filter patch. Pour the grain spawn in this pouch into the center of the toilet paper roll or sprinkle the grain across the shredded paper in the plastic spawn bag. Close bag above the filter patch with provided rubber band.
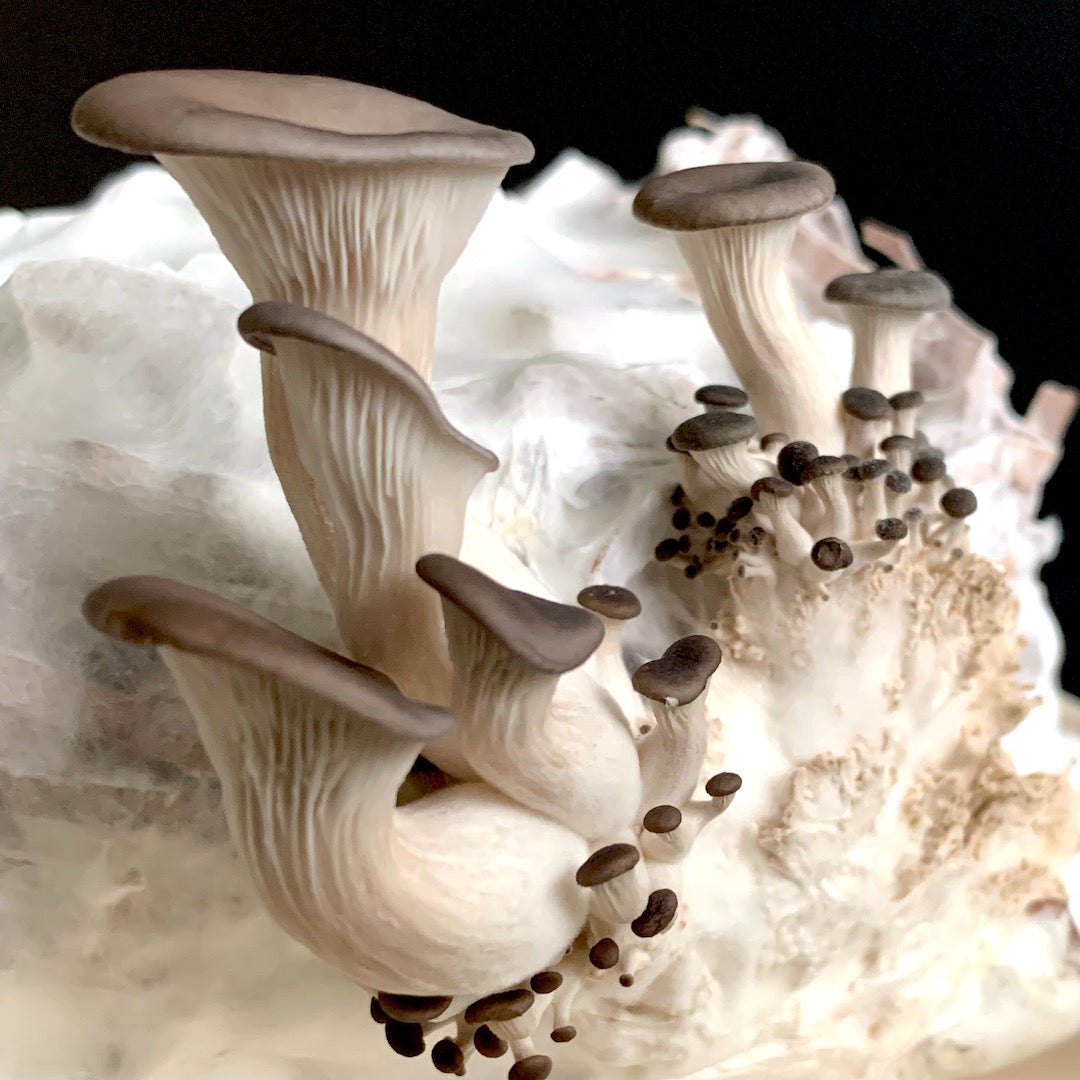
- Place bag in dim, undisturbed place at a temperature of 65-75 degrees. Within a few weeks, you'll see fluffy white mycelium growing on the paper. The longer you allow the mycelium to grow and cover the paper, the faster fruiting will happen.
- When paper is covered with mycelium, transfer bag to refrigerator for at least two days, and up to six months, to stimulate fruiting.
- When you're ready to fruit (sprout) the mushrooms, remove the rubber band and roll down the filter bag to expose the mycelium to light and air. Place the plastic bag in a well-lit, room temperature space.
- Spray the mycelium-covered paper lightly with water each day. Within 2-14 days, small mushrooms will begin forming.
- To harvest, twist or clip mushrooms at their base. When harvesting is complete, spray with water and re-close bag with rubber band. Store it undisturbed for 2 weeks, then return to refrigerator to stimulate fruiting again. Continue resting and fruiting until no more mushrooms appear.
It is normal for your mushroom grain spawn to arrive with some white fuzz or cobwebby structures, or with yellowish moisture in the pouch. Tiny green patches are normal as the white mycelium grows.
(Bowl in photos is not included.)
Oyster Mushroom Growing Kit was featured in the Mushrooms Box (May 2022).


How cool to get something like this in the mail. I love mushrooms, so growing some will be so fun!